Using the Built-in WordPress Menus
The latest BuddyPress 1.5 default theme now includes the standard WordPress menus that you can easily set with drag-and-drop capabilities. You also have quite a bit more control over where your BuddyPress components are now displayed. Here are the basic steps to setting up your main site navigation after BuddyPress is installed. (*Please note that this only applies to BP 1.5+)
Step 1: Assign BuddyPress components to their own pages.
If you want to house a component under a unique page name, then you will need to create that page first. For example, let’s say you want “Forums” to be accessed on a page called “Discussion”. Create a blank page titled “Discussion” first.
Navigate to Dashboard > BuddyPress > Pages
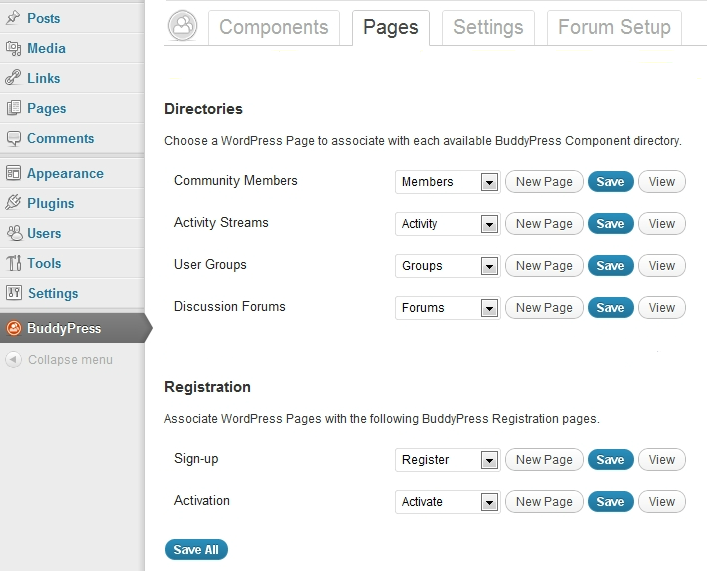
Assign each of your active components to a page using the dropdown menu.
Step 2: Create your main navigation menu.
You can create your own customized menu for your BuddyPress site, just like you normally would with WordPress.
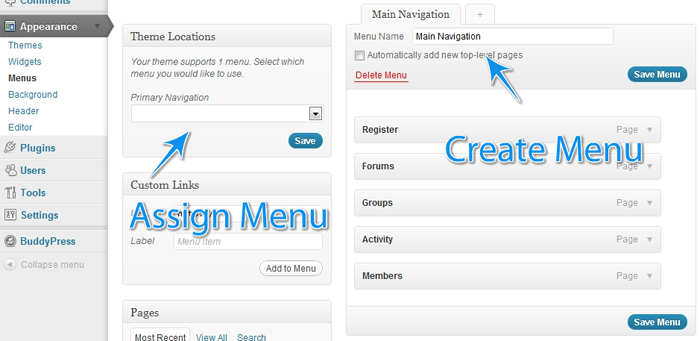
Go to Dashboard > Appearance > Menus
Create a new menu by giving it a title and dragging and dropping your desired pages.
To add links specific to the logged-in user, enable the “BuddyPress” option box:

And select the items you would like to add to your menu:

Step 3: Assign your menu as the primary navigation.
The default BuddyPress theme supports one menu – the primary navigation. Go to Theme Locations within the menu creation area and assign the menu you just created as the Primary Navigation for your site. Click save and refresh your site to see your new custom menu in place.