Twenty Ten Theme
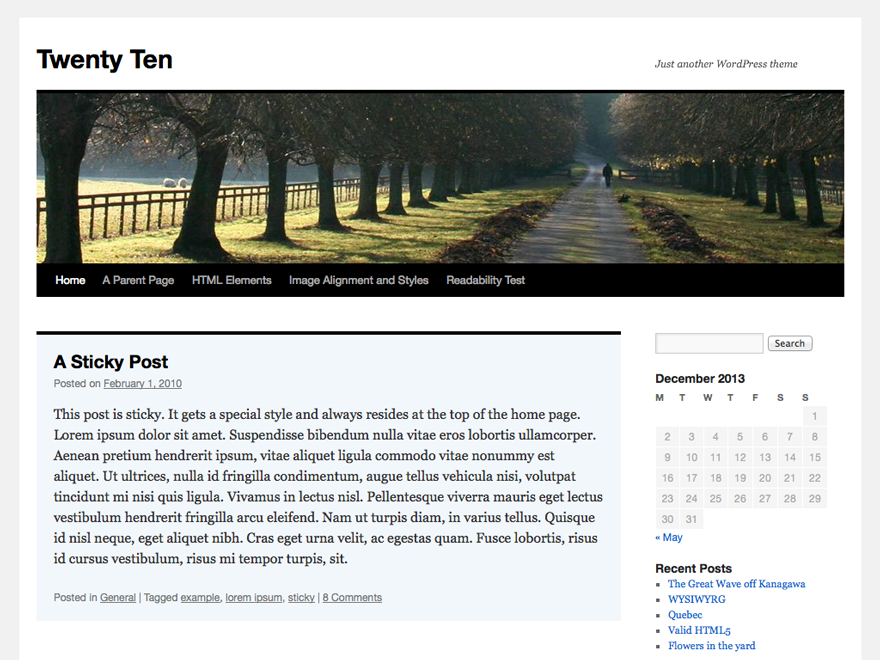
A. One column Layout

One column Layout. Click on image to enlarge.
1. Create a child theme of the Twenty Ten theme.
2. Create a new file in your new child theme folder and name it buddypress.php.
3. The Twenty Ten theme has a one column page template, fortunately. All you need to do is copy over the entire source code of Twenty Ten’s onecolumn-page.php file into the new buddypress.php file and save file.
<?php
/**
 * BuddyPress: One column, no sidebar template
 *
 * A custom page template without sidebar.
 *
 * @ since Twenty Ten 1.6 and BuddyPress 1.9 beta 1
 */
get_header(); ?>

		<div id="container" class="one-column">
			<div id="content" role="main">
			     <?php get_template_part( 'loop', 'page' ); ?>
			</div><!-- #content -->
		</div><!-- #container -->

<?php get_footer(); ?>
4. Upload your Twenty Ten child theme folder to your server.
B. Full-width page Layout
Full-width Layout. Click on image to enlarge.
1. Create a child theme of the Twenty Ten theme.
2. Create a new file in your new child theme folder and name it buddypress.php.
3. Copy over the content of Twenty Ten theme’s onecolumn-page.php file into the new buddypress.php file.
<?php
/**
 * BuddyPress: Full-width template
 *
 * A custom page template without sidebar.
 *
 * @ since Twenty Ten 1.6 and BuddyPress 1.9 beta 1
 */
get_header(); ?>

		<div id="container" class="one-column">
			<div id="content" role="main">
			       <?php get_template_part( 'loop', 'page' ); ?>
			</div><!-- #content -->
		</div><!-- #container -->

<?php get_footer(); ?>
5. We will simply copy the theme’s one column style and then prepend the buddypress body class to override the theme’s one column styling. Open up your child theme’s style.css file and add the following at the bottom of the file then save the file.
.buddypress #container.one-column {
        margin: 0;
        width: 100%;
}
6. Upload your Twenty Ten child theme folder to your server.
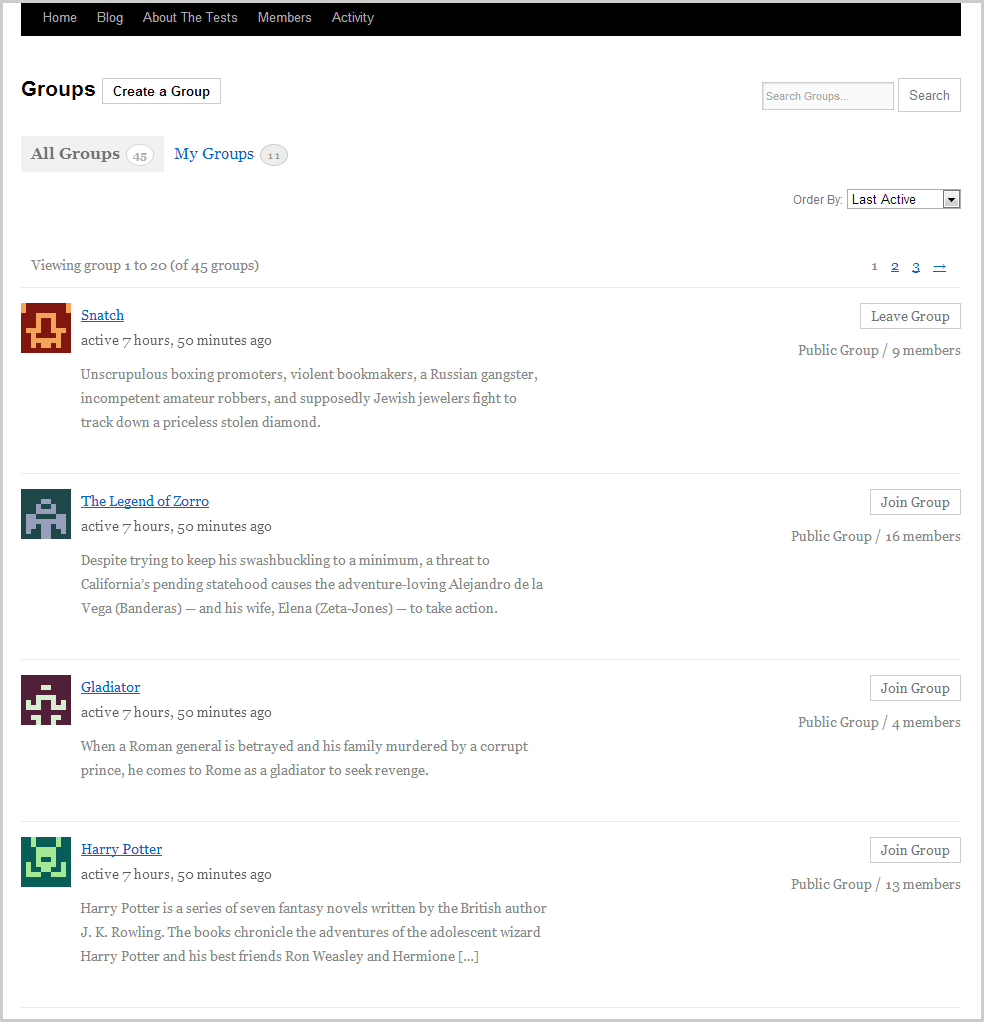
C. Two Column, Right Sidebar Layout

Two-column Layout. Click on image to enlarge.
However, if you want to customize the sidebar content of all your BP pages, you can do so by: a) using a plugin like Widget Logic to assign widgets to specific pages by using conditional tags or b) by creating new buddypress.php and sidebar-buddypress.php files and registering a new widget area in your child theme’s functions.php file. The following steps are for the second option.
1. Create a child theme of the Twenty Ten theme.
2. Create a new file in your new child theme folder and name it buddypress.php.
3. Open up the page.php file of the Twenty Ten theme and copy all content within and paste that content into your new buddypress.php file. Then change to and save file.
<?php
/**
 * BuddyPress: Two column, right sidebar template
 *
 * A custom page template with own BP sidebar.
 *
 * @ since Twenty Ten 1.6 and BuddyPress 1.9 beta 1
 */
get_header(); ?>

		<div id="container">
			<div id="content" role="main">
			       <?php get_template_part( 'loop', 'page' ); ?>
			</div><!-- #content -->
		</div><!-- #container -->

<?php get_sidebar('buddypress'); ?>
<?php get_footer(); ?>
4. If you don’t have a functions.php file in your child theme, create one. You’ll need to register the new widget area for your BP sidebar in that functions.php file like so:
<?php
// Register new widget area for new sidebar for BP pages
function mme_register_bp_widgets_area() {
	register_sidebar( array(
		'name'          => __( 'BuddyPress Sidebar Widget Area', 'mmechildtheme' ),
		'id'            => 'bp-sidebar',
		'description'   => __( 'Appears in the sidebar section of all BuddyPress pages.', 'mmechildtheme' ),
		'before_widget'	=> '<li id="%1$s" class="widget-container %2$s">',
		'after_widget'	=> '</li>',
		'before_title' 	=> '<h3 class="widget-title">',
		'after_title' 	=> '</h3>',
	) );
}
add_action( 'widgets_init', 'mme_register_bp_widgets_area' );
5. Create a new file in your child theme folder and name it sidebar-buddypress.php.
6. Add the following in your new sidebar-buddypress.php and save file:
<?php
/**
 * The sidebar containing the BuddyPress widget area
 *
 * Displays on BP pages.
 *
 * If no active widgets are in this sidebar, nothing will show up in your sidebar.
 *
 * @ since Twenty Ten 1.6 and BuddyPress 1.9 beta 1
 */
if ( is_active_sidebar( 'bp-sidebar' ) ) : ?>

	<div id="secondary" class="widget-area" role="complementary">
		<ul class="xoxo">
			<?php dynamic_sidebar( 'bp-sidebar' ); ?>
		</ul>
	</div><!-- #secondary .widget-area -->

<?php endif; ?>
7. Upload your child theme folder to your server. You’ll need to add at least one widget to the BP Sidebar widget area.