Modifying the Registration Form
Once you’ve installed WordPress and BuddyPress, created WordPress pages for BuddyPress to use for Registration and Activation, and then enabled “Anyone can register” (under Settings > General > Membership), you’re ready to let users sign up for your new site.
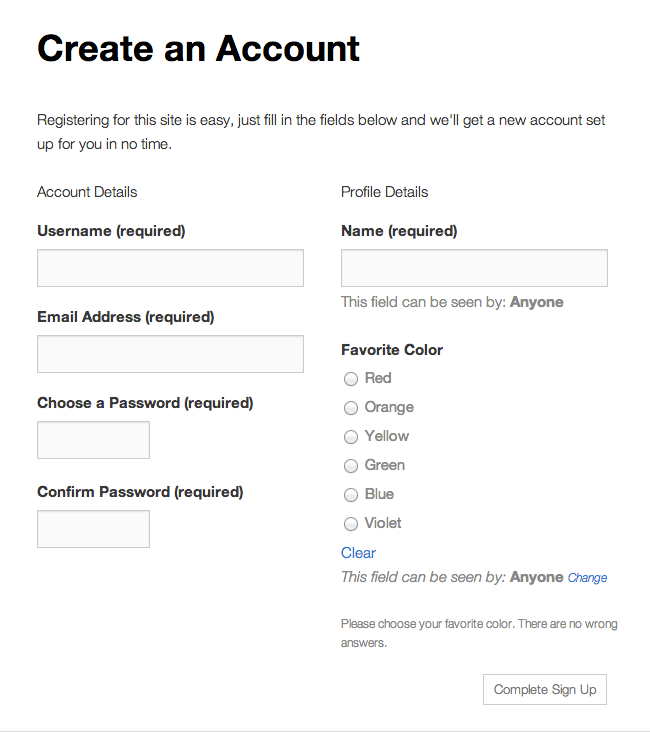
Tip: If you’re already logged in to your new site, visiting mysite.net/register will redirect you to the site home page. Not to worry, that’s the expected behavior, since there’s no point in registering if you’re already registered, right? So fire up a second browser that’s not logged into the site, and point it at your registration page. By default, it’ll look something like this.
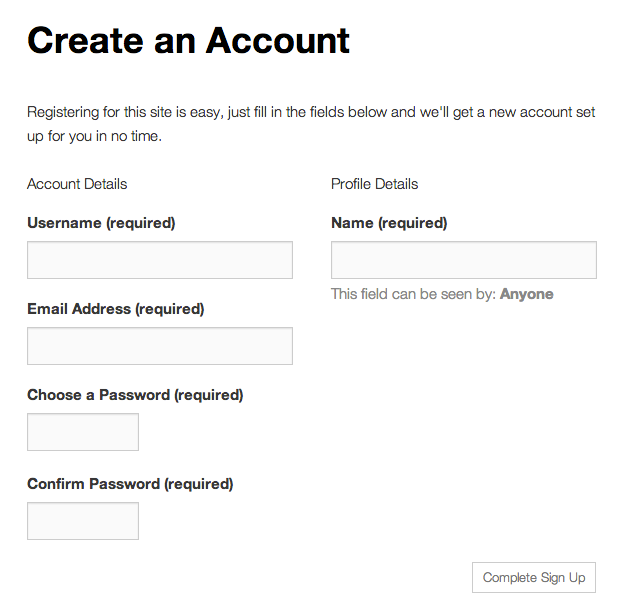
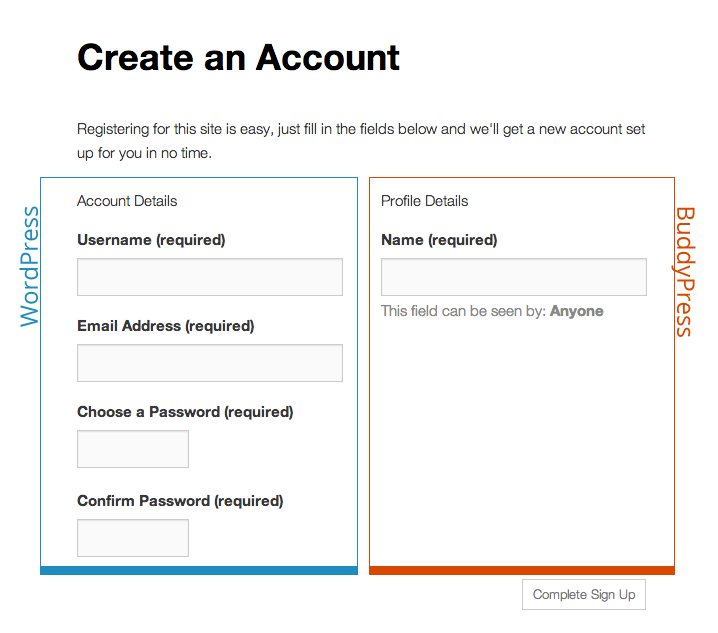
The section “Account Details” is the portion required for WordPress; the other portion, “Profile Details,” is the part BuddyPress adds.
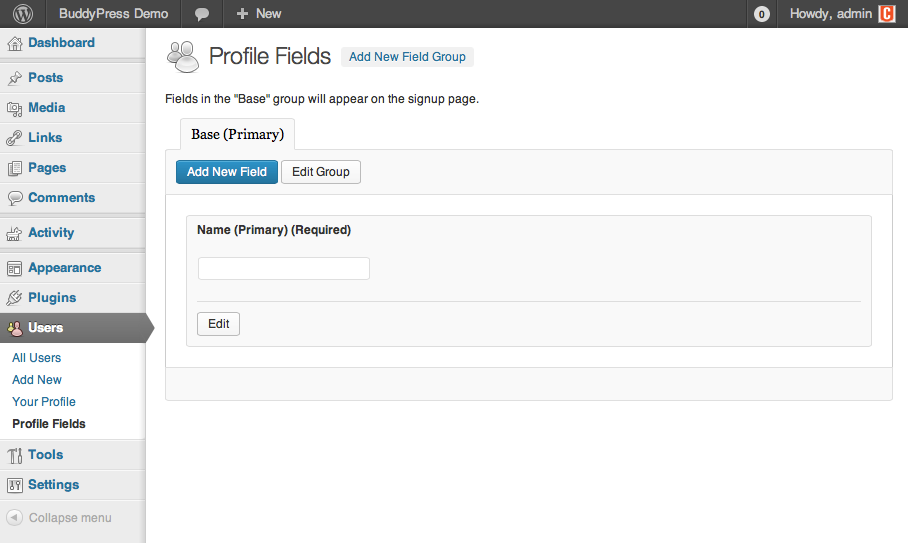
BuddyPress offers a tool to customize the Profile Details section. You can access it by visiting the WordPress administration area and going to Users > Profile Fields. The only field that appears by default is Name (Primary), which is a required field. This field serves as the user’s display name on the site; it is displayed at the top of the user’s profile and also in activity items.
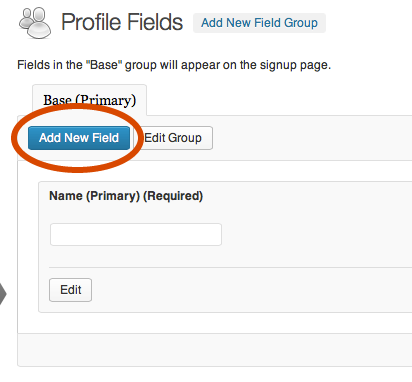
Profile fields can collect a variety of information from your users. BuddyPress 1.8 offers the following field types: text box, multi-line text box, date selector, radio buttons, drop-down select box, multi select box and checkboxes. Let’s add a group of radio buttons to collect your users’ favorite color upon signup. First, click on the “Add New Field” button.
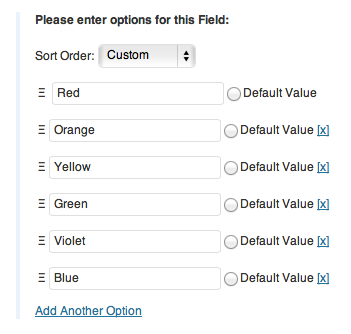
In this example, you’ve added the “field title” (used as the label on the registration form) and the “field description” (used as explanatory text on the registration form if not empty), decided that this isn’t a required field and entered your first color option.

You might need more options, so you can click the link “Add another option” to add more options until you’re satisfied.
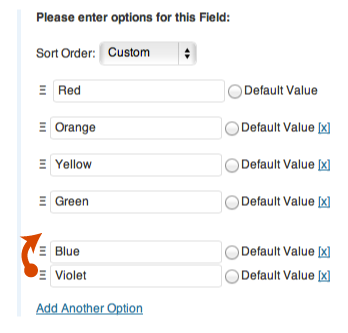
Whoops, if you didn’t enter the colors in the right order, you can click and drag the options to correct the order. If you need to remove an option, you can click the [x] to the right of the option.
Now you can set the default visibility setting, add an option for the user to override the visibility settings, and save the new field.

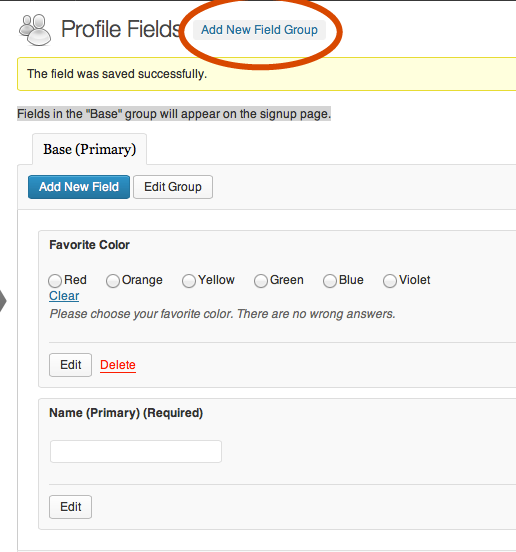
The new field appears in the form administration area. Using your other browser (the one that isn’t logged into the site), check your work by reloading the registration form.
You can change the order the profile fields appear on the registration form by clicking and dragging to reorder the fields.

While the new user’s favorite color is interesting, you’ve decided that it’s not important enough to clog up the registration form. Instead, you’d like to have a way for the user to fill that out after she’s registered. This is where profile field groups come into play. Back in the WP profile field admin, notice that the fields are organized under a tab that reads “Base (Primary)”. This refers to the profile field group that the field belongs to. Fields in the “Base” group are displayed on the registration form. You can add another group (or more) to collect other information. We’ll add a new group by clicking on the link “Add New Field Group” next to the page title “Profile Fields.”
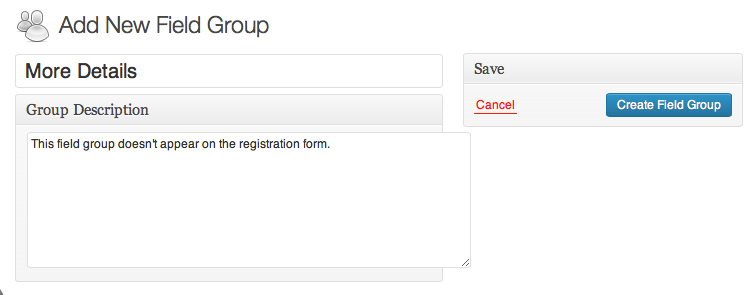
Give the new group a title and description, then click on “Create Field Group.”
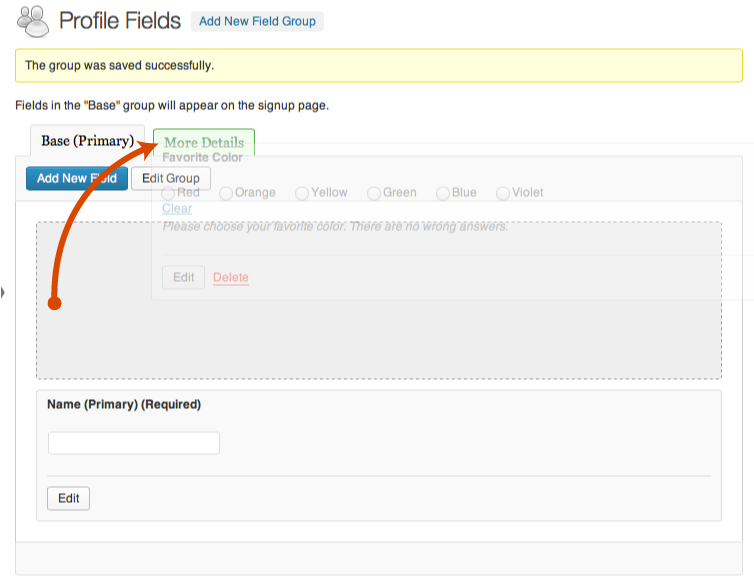
Now, you can move the “Favorite Color” field from the “Base” group to the “More Details” group by dragging it to the “More Details” tab.
The “Favorite Color” field is no longer displayed on the registration form but can be edited via the BuddyPress user profile.